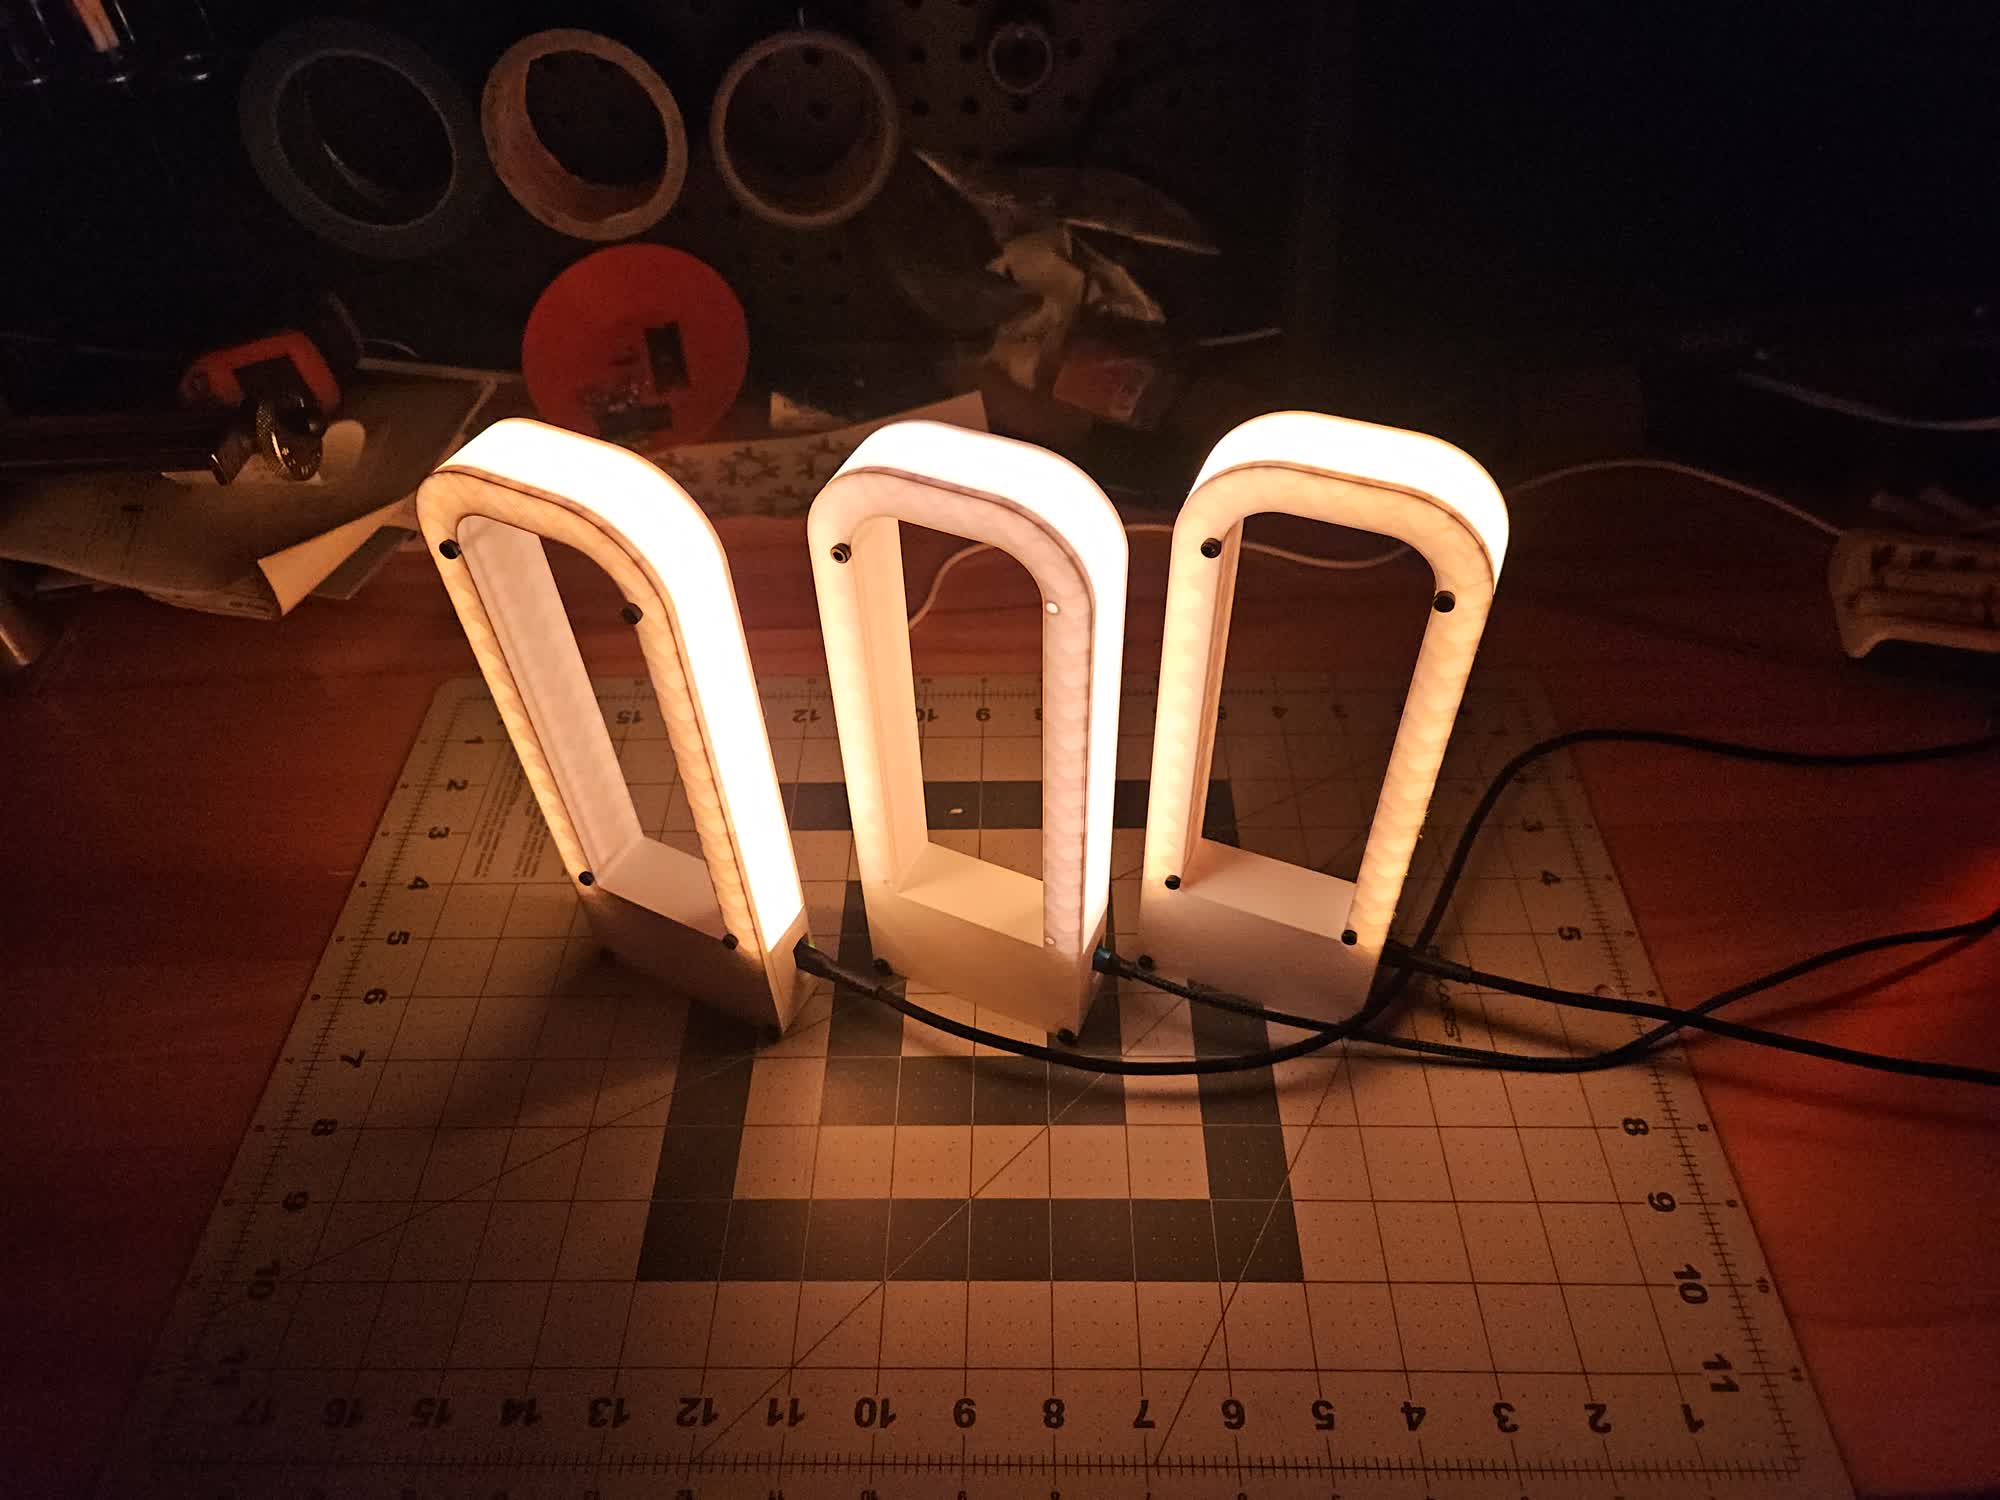
Lights Rectangle

A small ESP32-based light.
Why build this?
This project was a small gift for two of my friends, Eris and Mimi. Each of them are programmers, and I thought they would enjoy a device to run light control code on without having to care about the hardware. I also make software to run on devices similar to this (pulse, randbeacon) and both of them expressed interest in running those programs themselves, but didn’t have a light to use.
The design needed to be something small that would both not be crazy to bring in my luggage, and also not take up too much space in a shared apartment. I also needed it to be fully enclosed and not have any crazy dances you have to do to use it, and ideally no exposed wires or other ways to fuck up. This is critical when giving projects as presents.
Design
My initial design revolved around a kind of circular shape that had some supports with the ESP32 in the center. However after a few hours of 3D modeling, I had the sudden and terrible realization that it looked like some kind of man-cave truck guy wheel wall art. Which was untenable for obvious reasons.
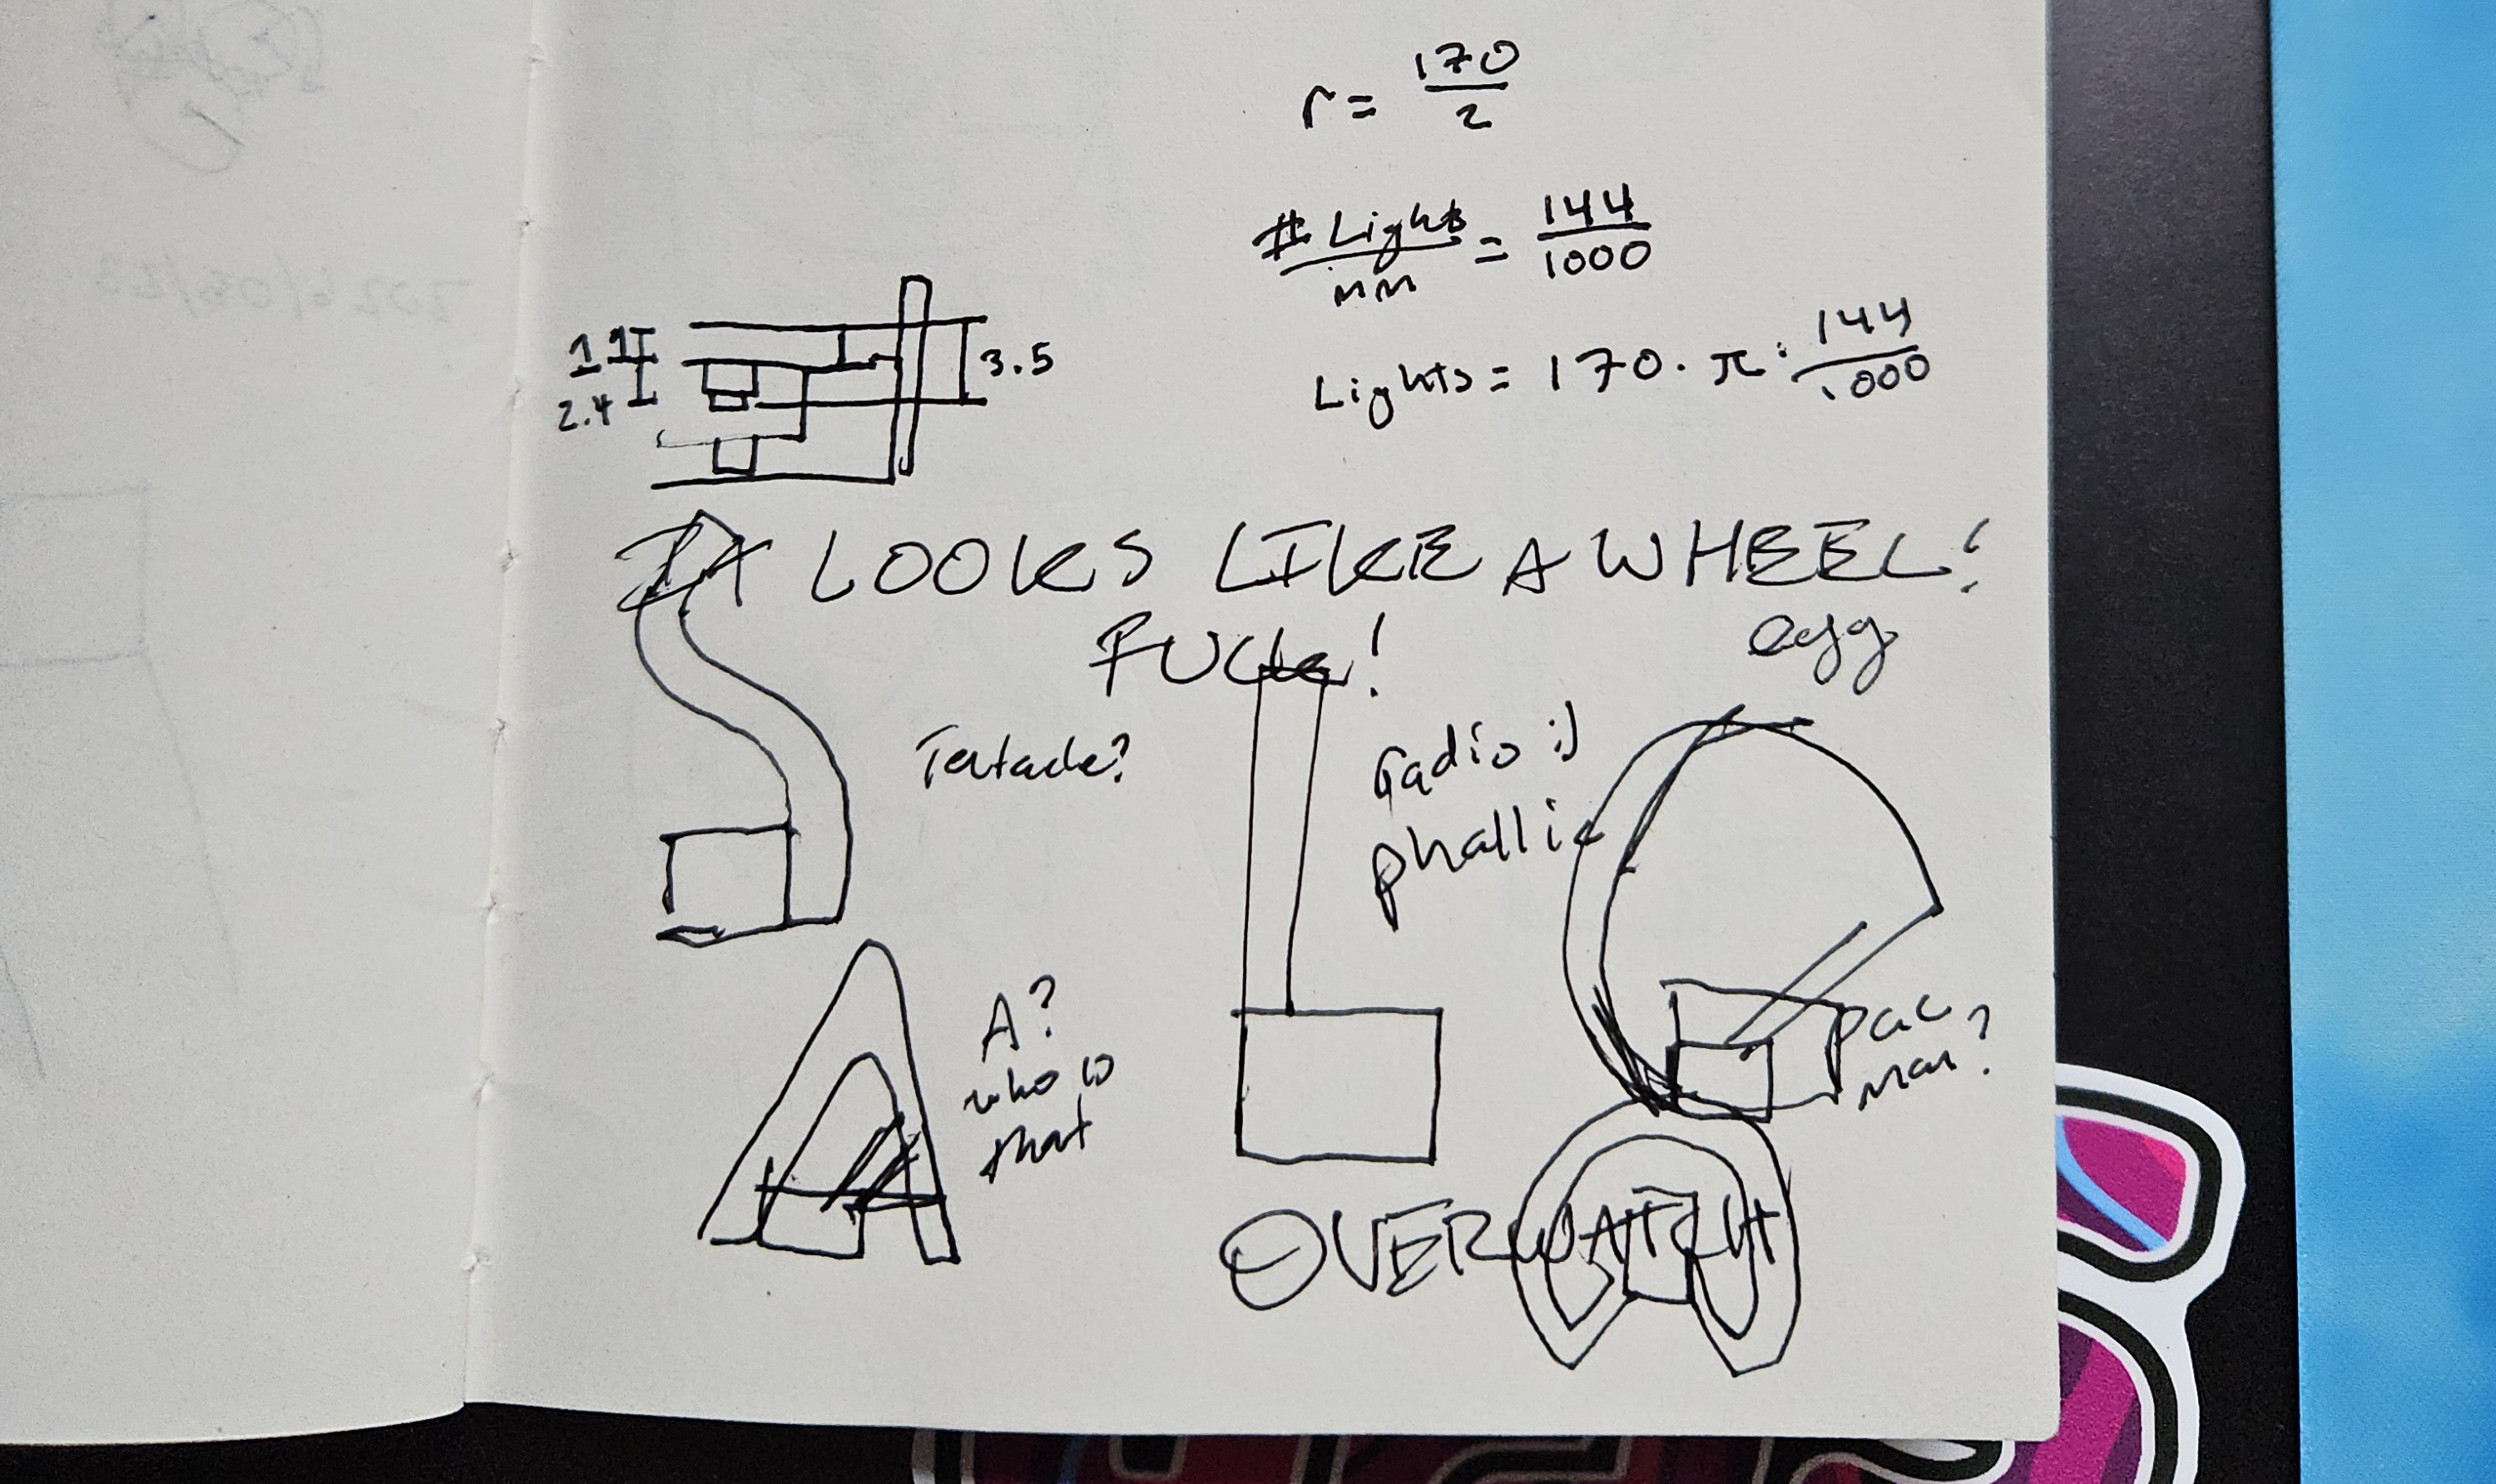
I then went on a feverish redesign. Everything I could think of was either phallic, yonic, or evocative of something I didn’t want (like the wheel)
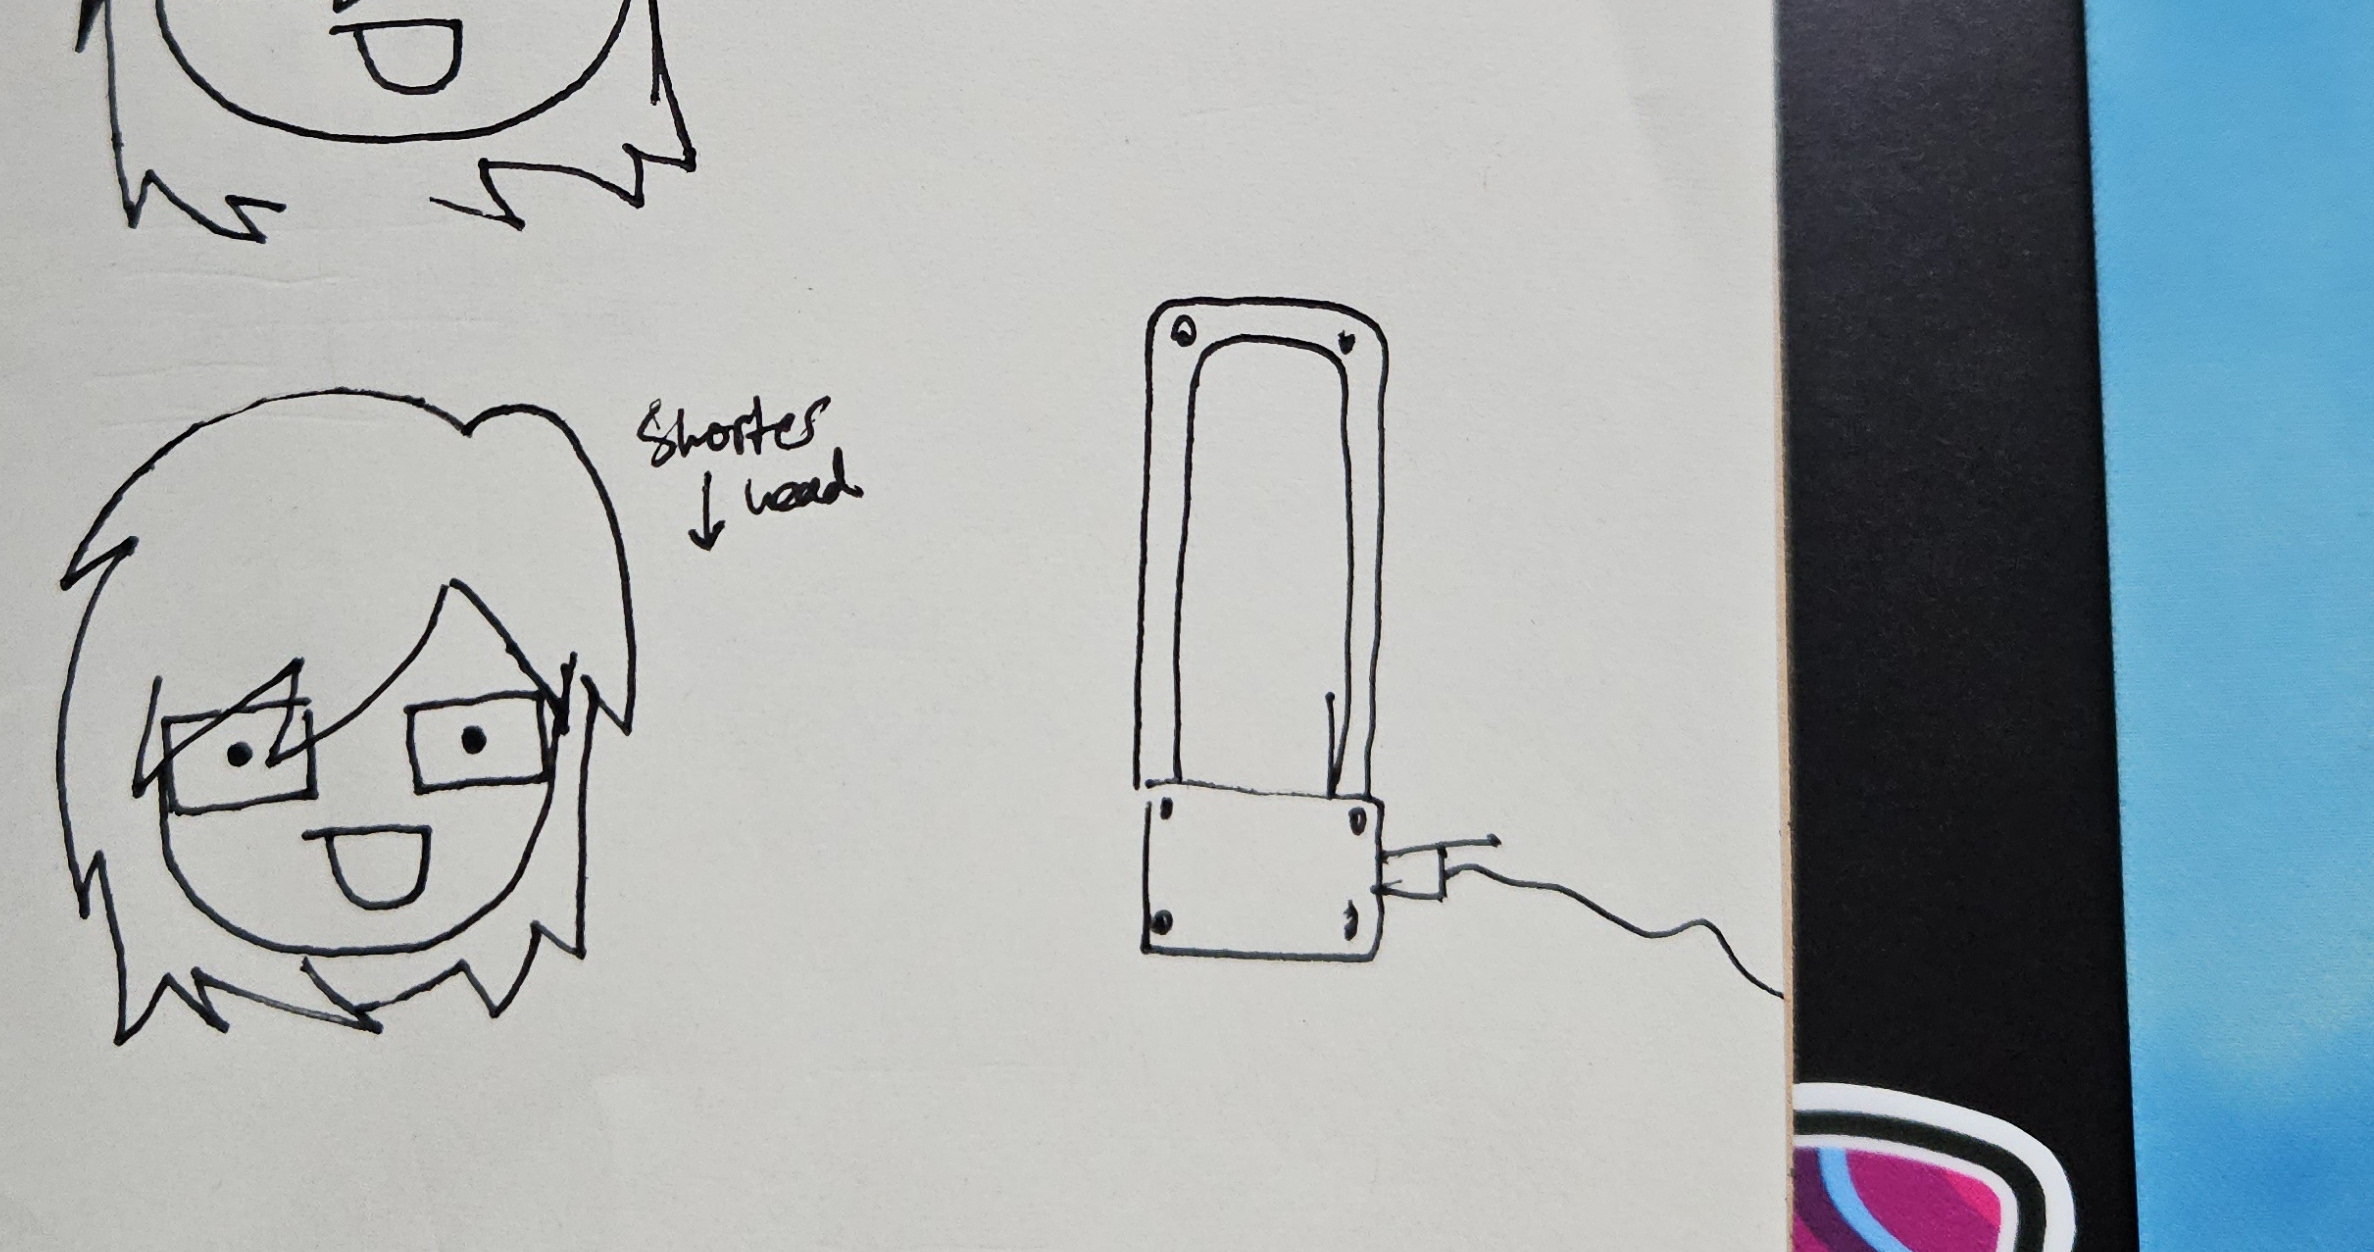
I settled on the “dyson airblade” look, because it was the perfect ratio of phallic to yonic, and would also be pretty easy to make. I also played with the angles to make it less similar to the bladeless fans, so there was some uniqueness.
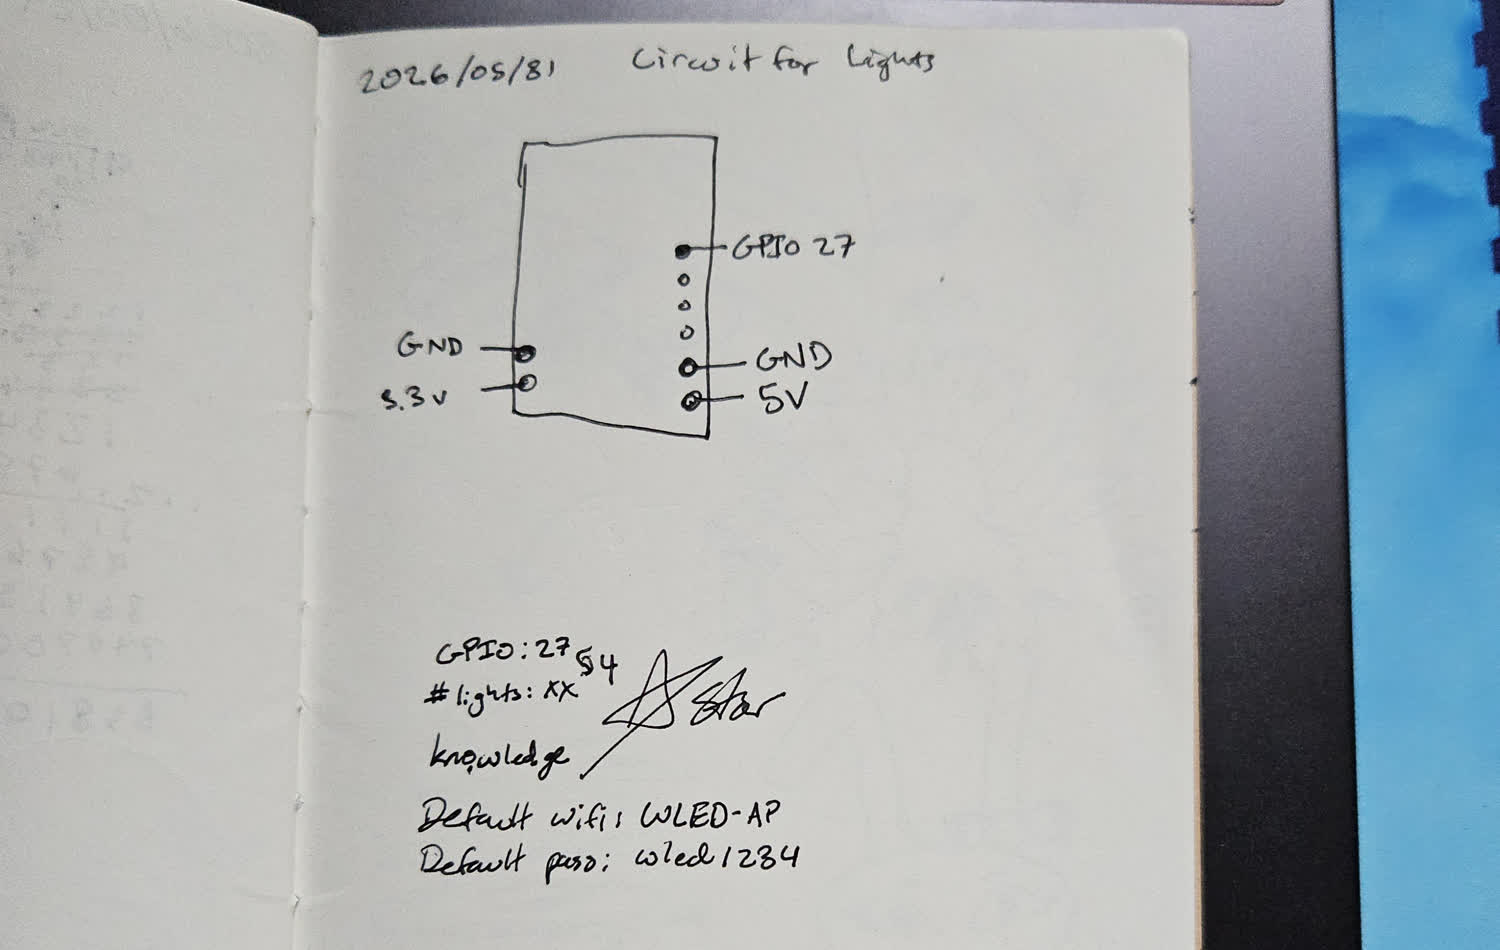
The circuit itself would be very simple - I don’t believe in level shifters, but I do believe in filtering capacitors. I wanted to do without another board, so all joints would be directly on the ESP.
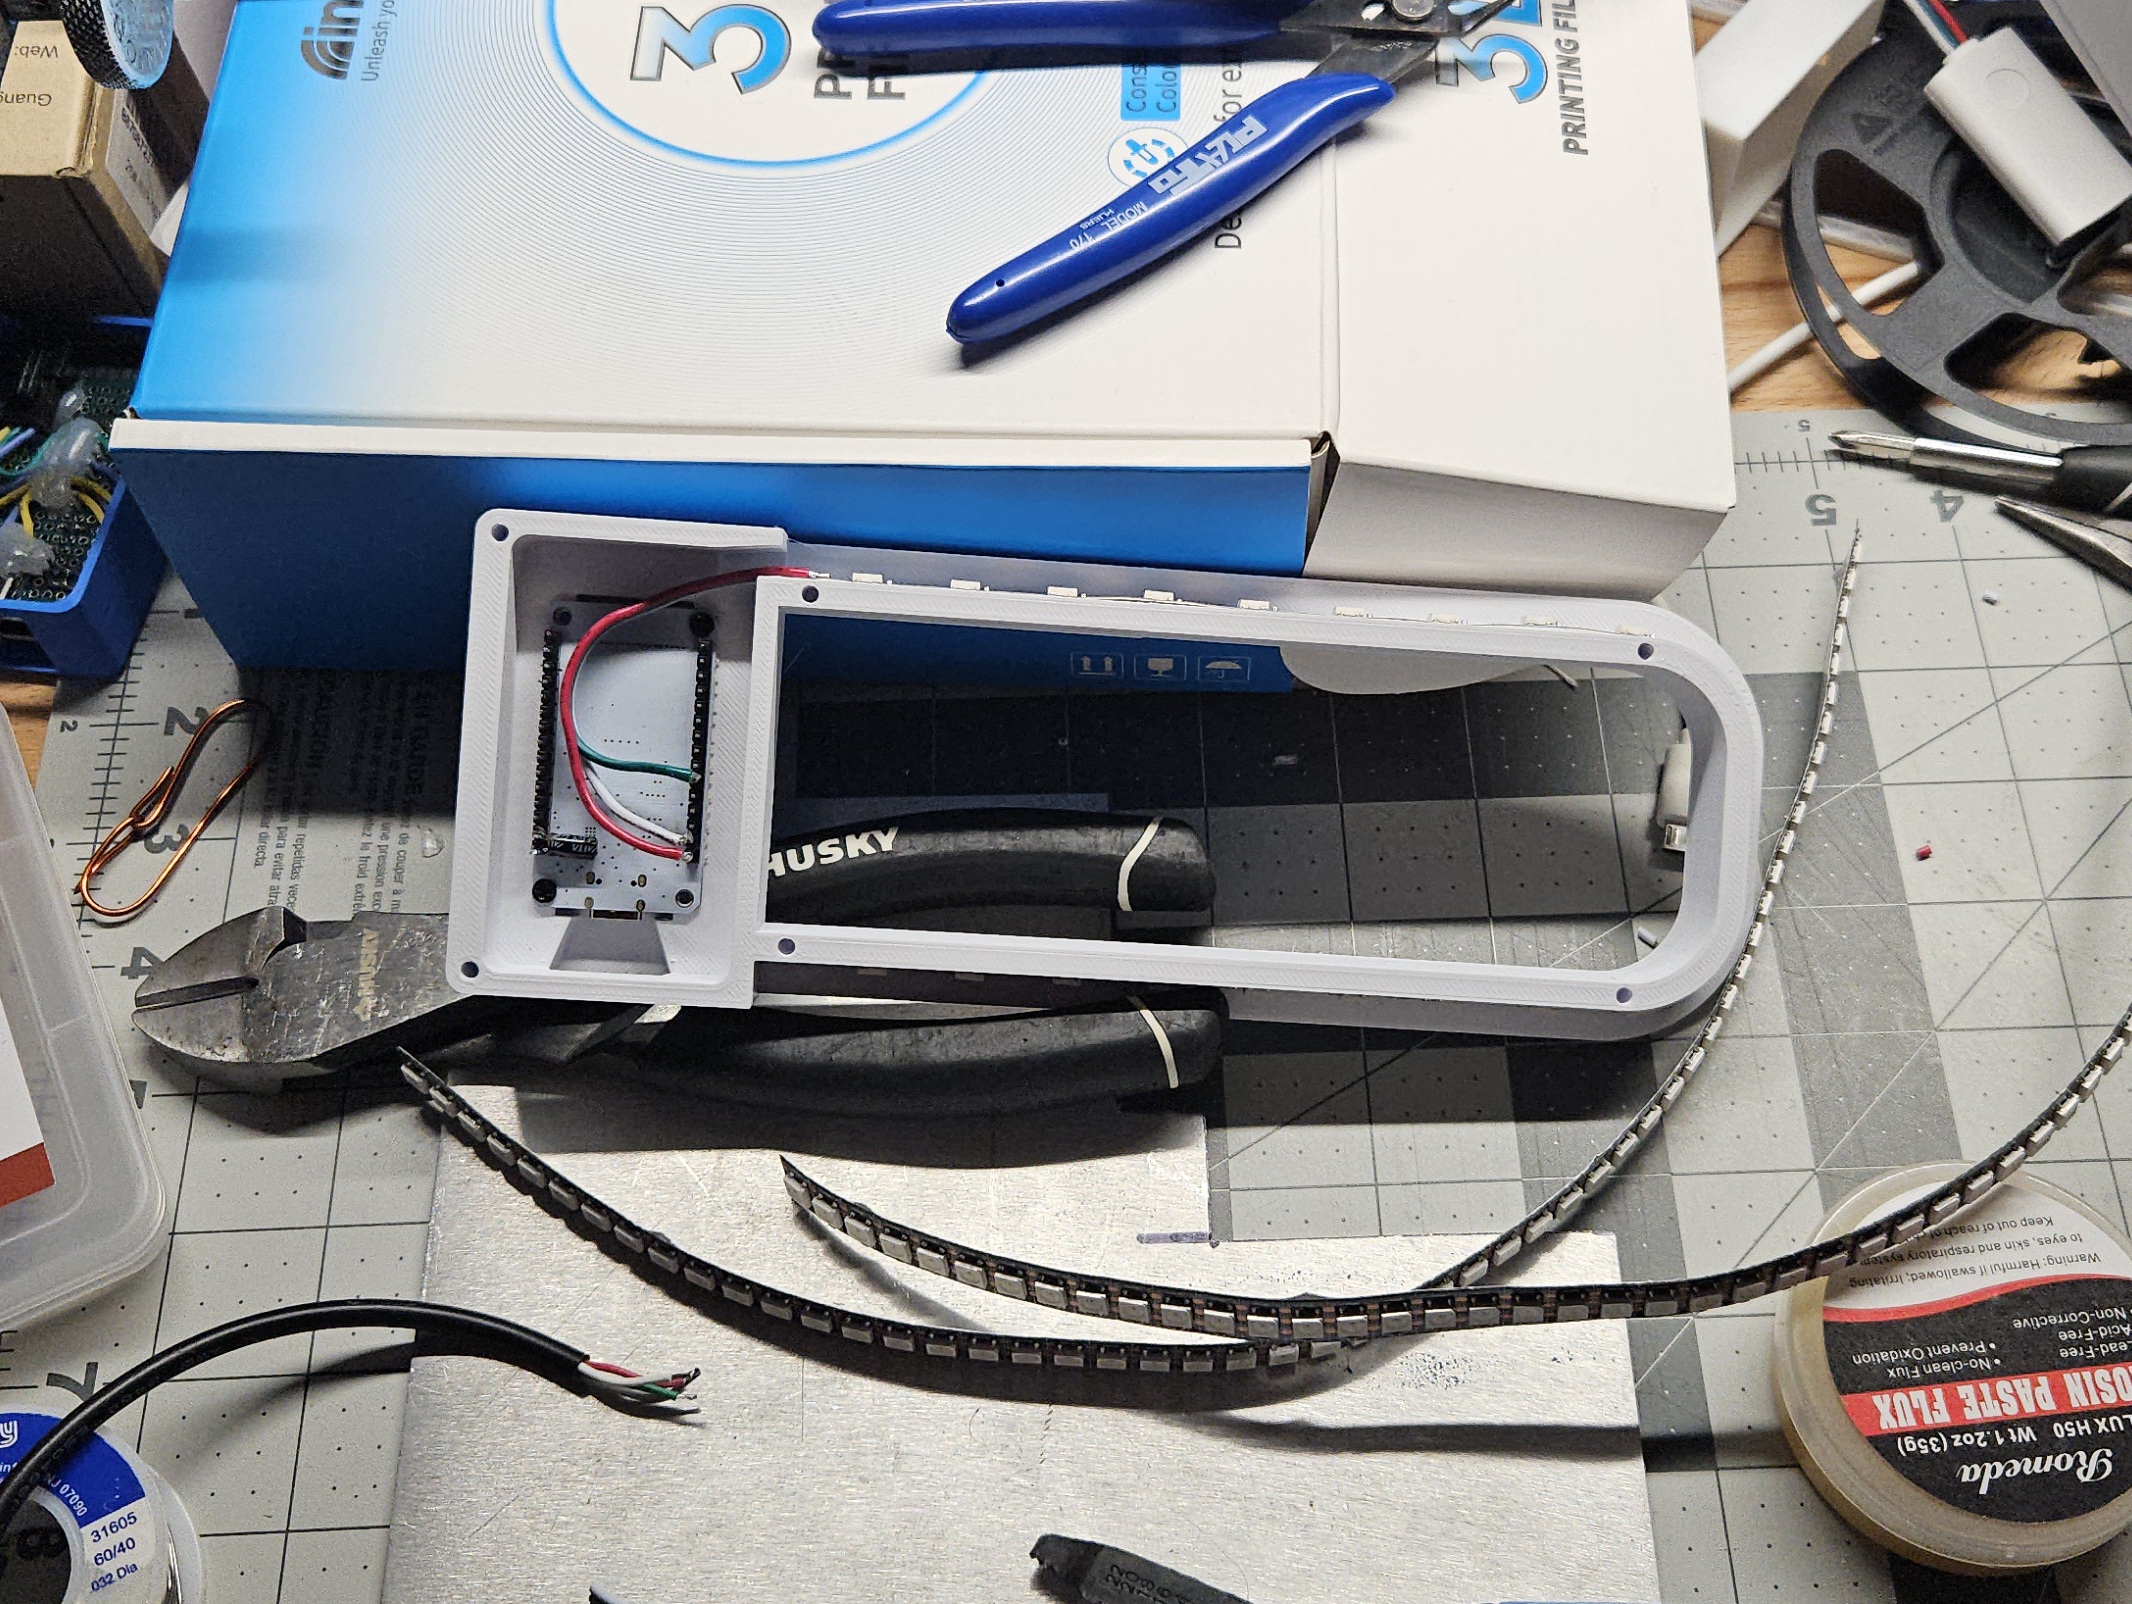
Build
Access to one of the buttons on the ESP32. This button by default toggles the light on/off, which is very handy when you are right there on the light and don’t want to open up an app to control it. I am familiar with making trapped buttons, so a few careful measurements and test prints later I had something that worked perfectly.
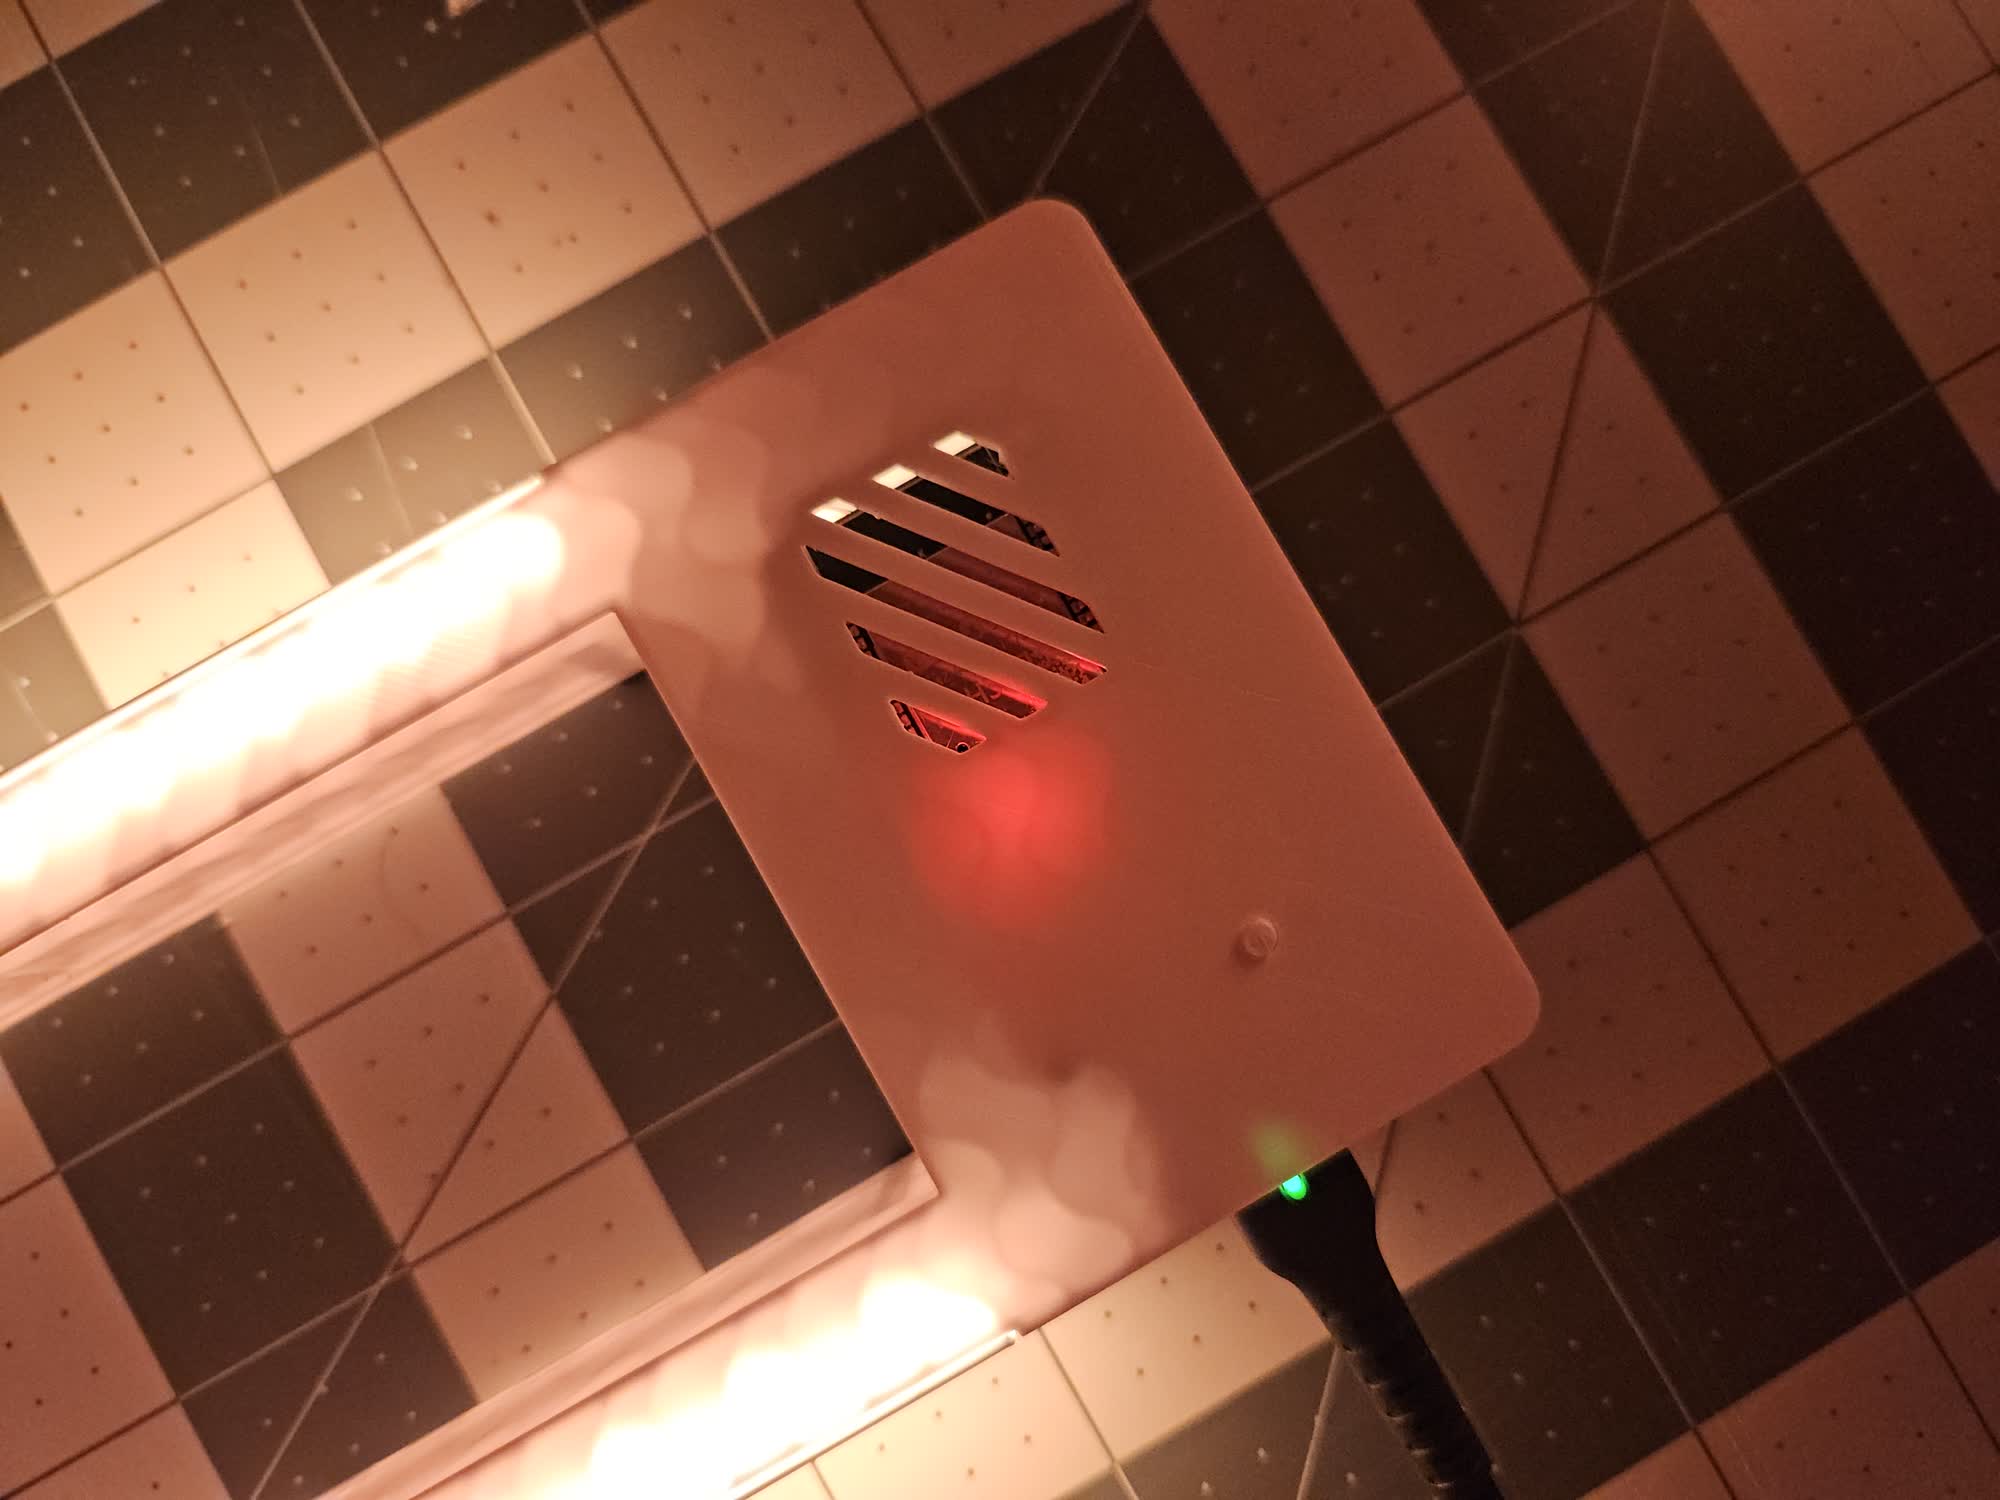
I added some vents for some small amount of airflow. I know these devices generate a bit of heat, and fully trapping that would not be ideal. As always, this took way longer than it should because 3D modeling applications hate resizing stuff like this. I ended up using a boolean object so at least I could resize the vents in a different object and the dimensions weren’t linked. This was so effective, even if it was hard to make in the first place. It felt hacky though.
The radius that the lights can wrap around was also a consideration, as the 144 LED/meter strip actually had a wider radius than the normal like 60 LED/meter strips I buy. This ended up being like 18 mm.
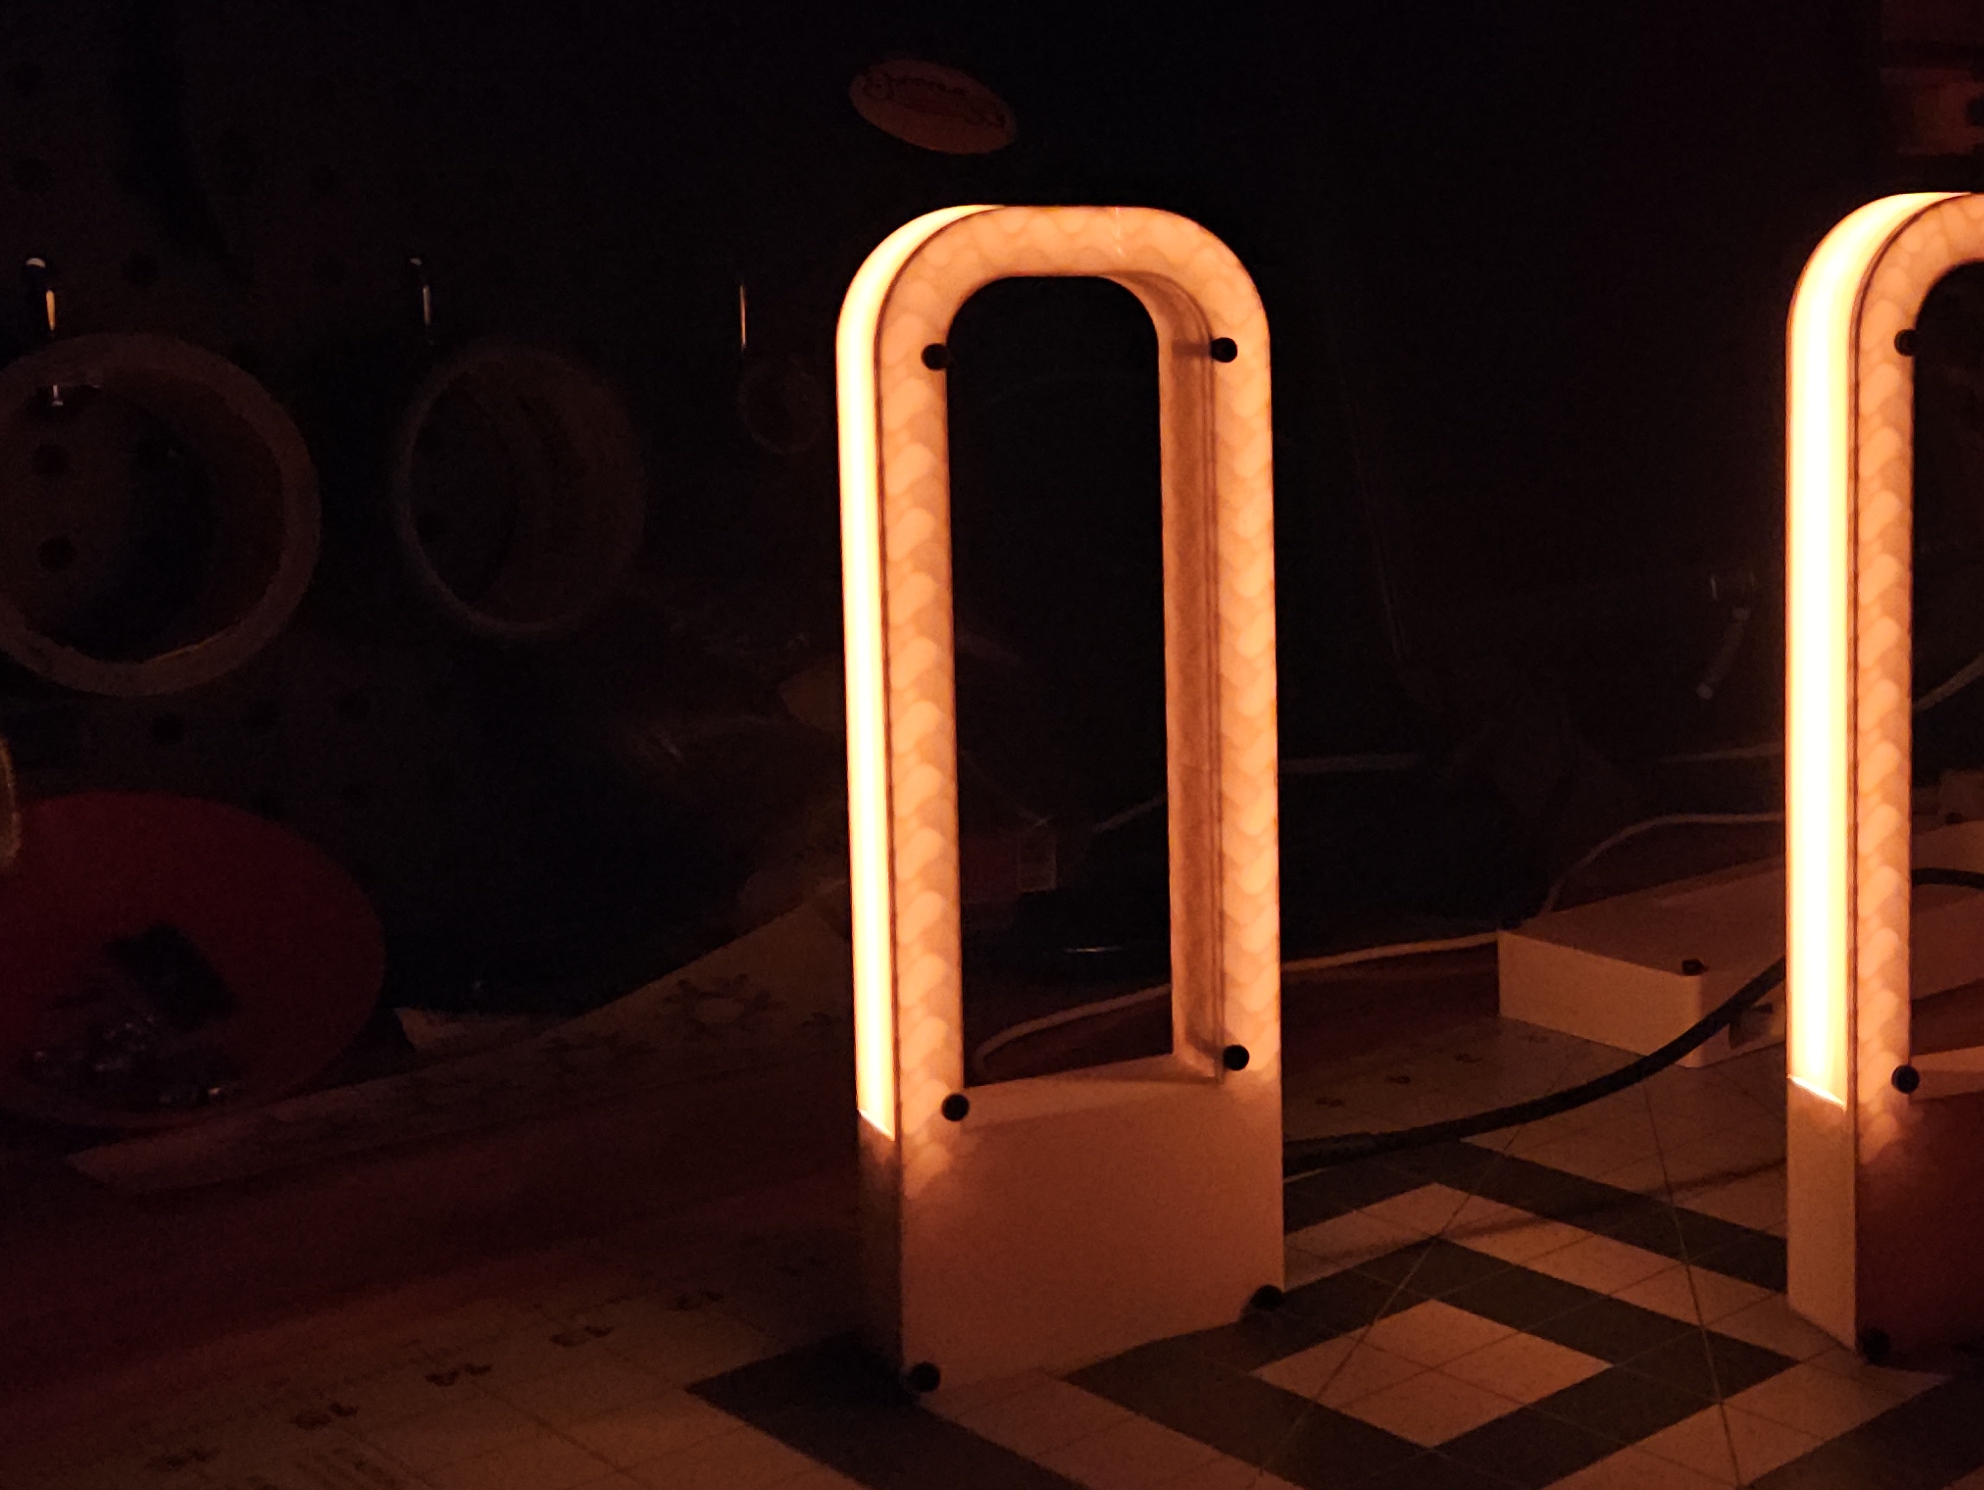
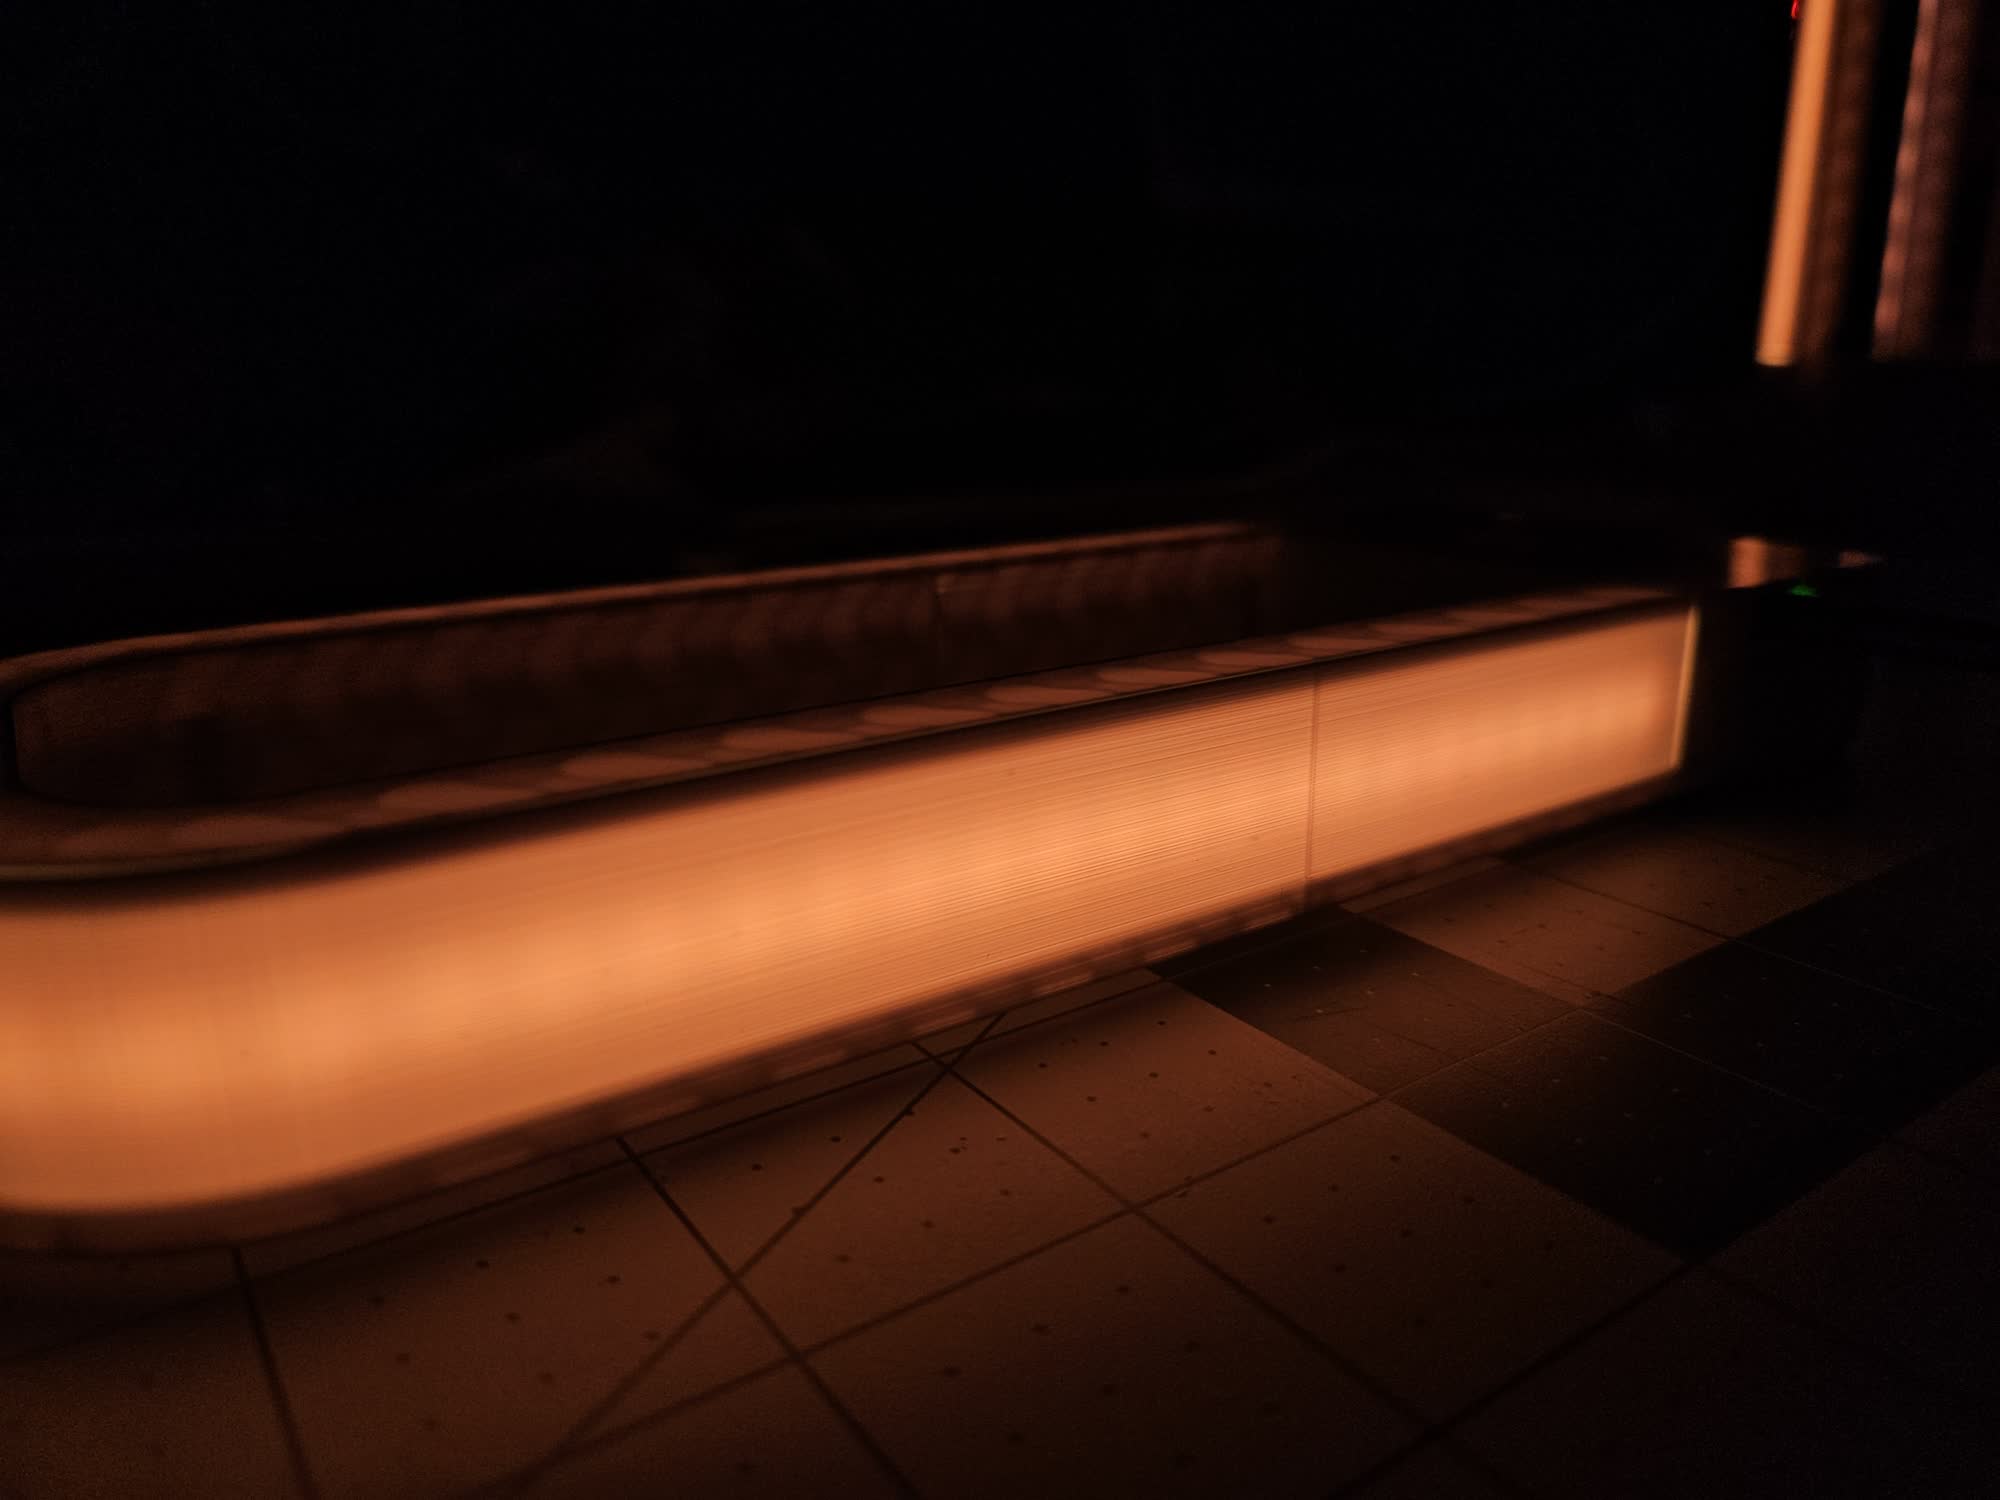
For the print, I went back and forth on infill type. Obviously the main light diffuser would just be two perimeters (one would be too fragile for shipping, and two was still translucent enough). But the sides would also leak light - and I had to decide what to do. One option was to put some kind of opaque coating or tape like my plant light shelf, but I think that would make it less interesting. I the light transmission through the print looked cool, so I tried out gyroid infill. This gave really cool results, and I decided to keep it.
For assembly, I didn’t feel like using heat-set inserts, because the loads would be minimal. But I didn’t want to glue anything in case repairs were needed. I used some trusty M3 hex screws for the case, and then some M2 screws for holding the MCU in place.
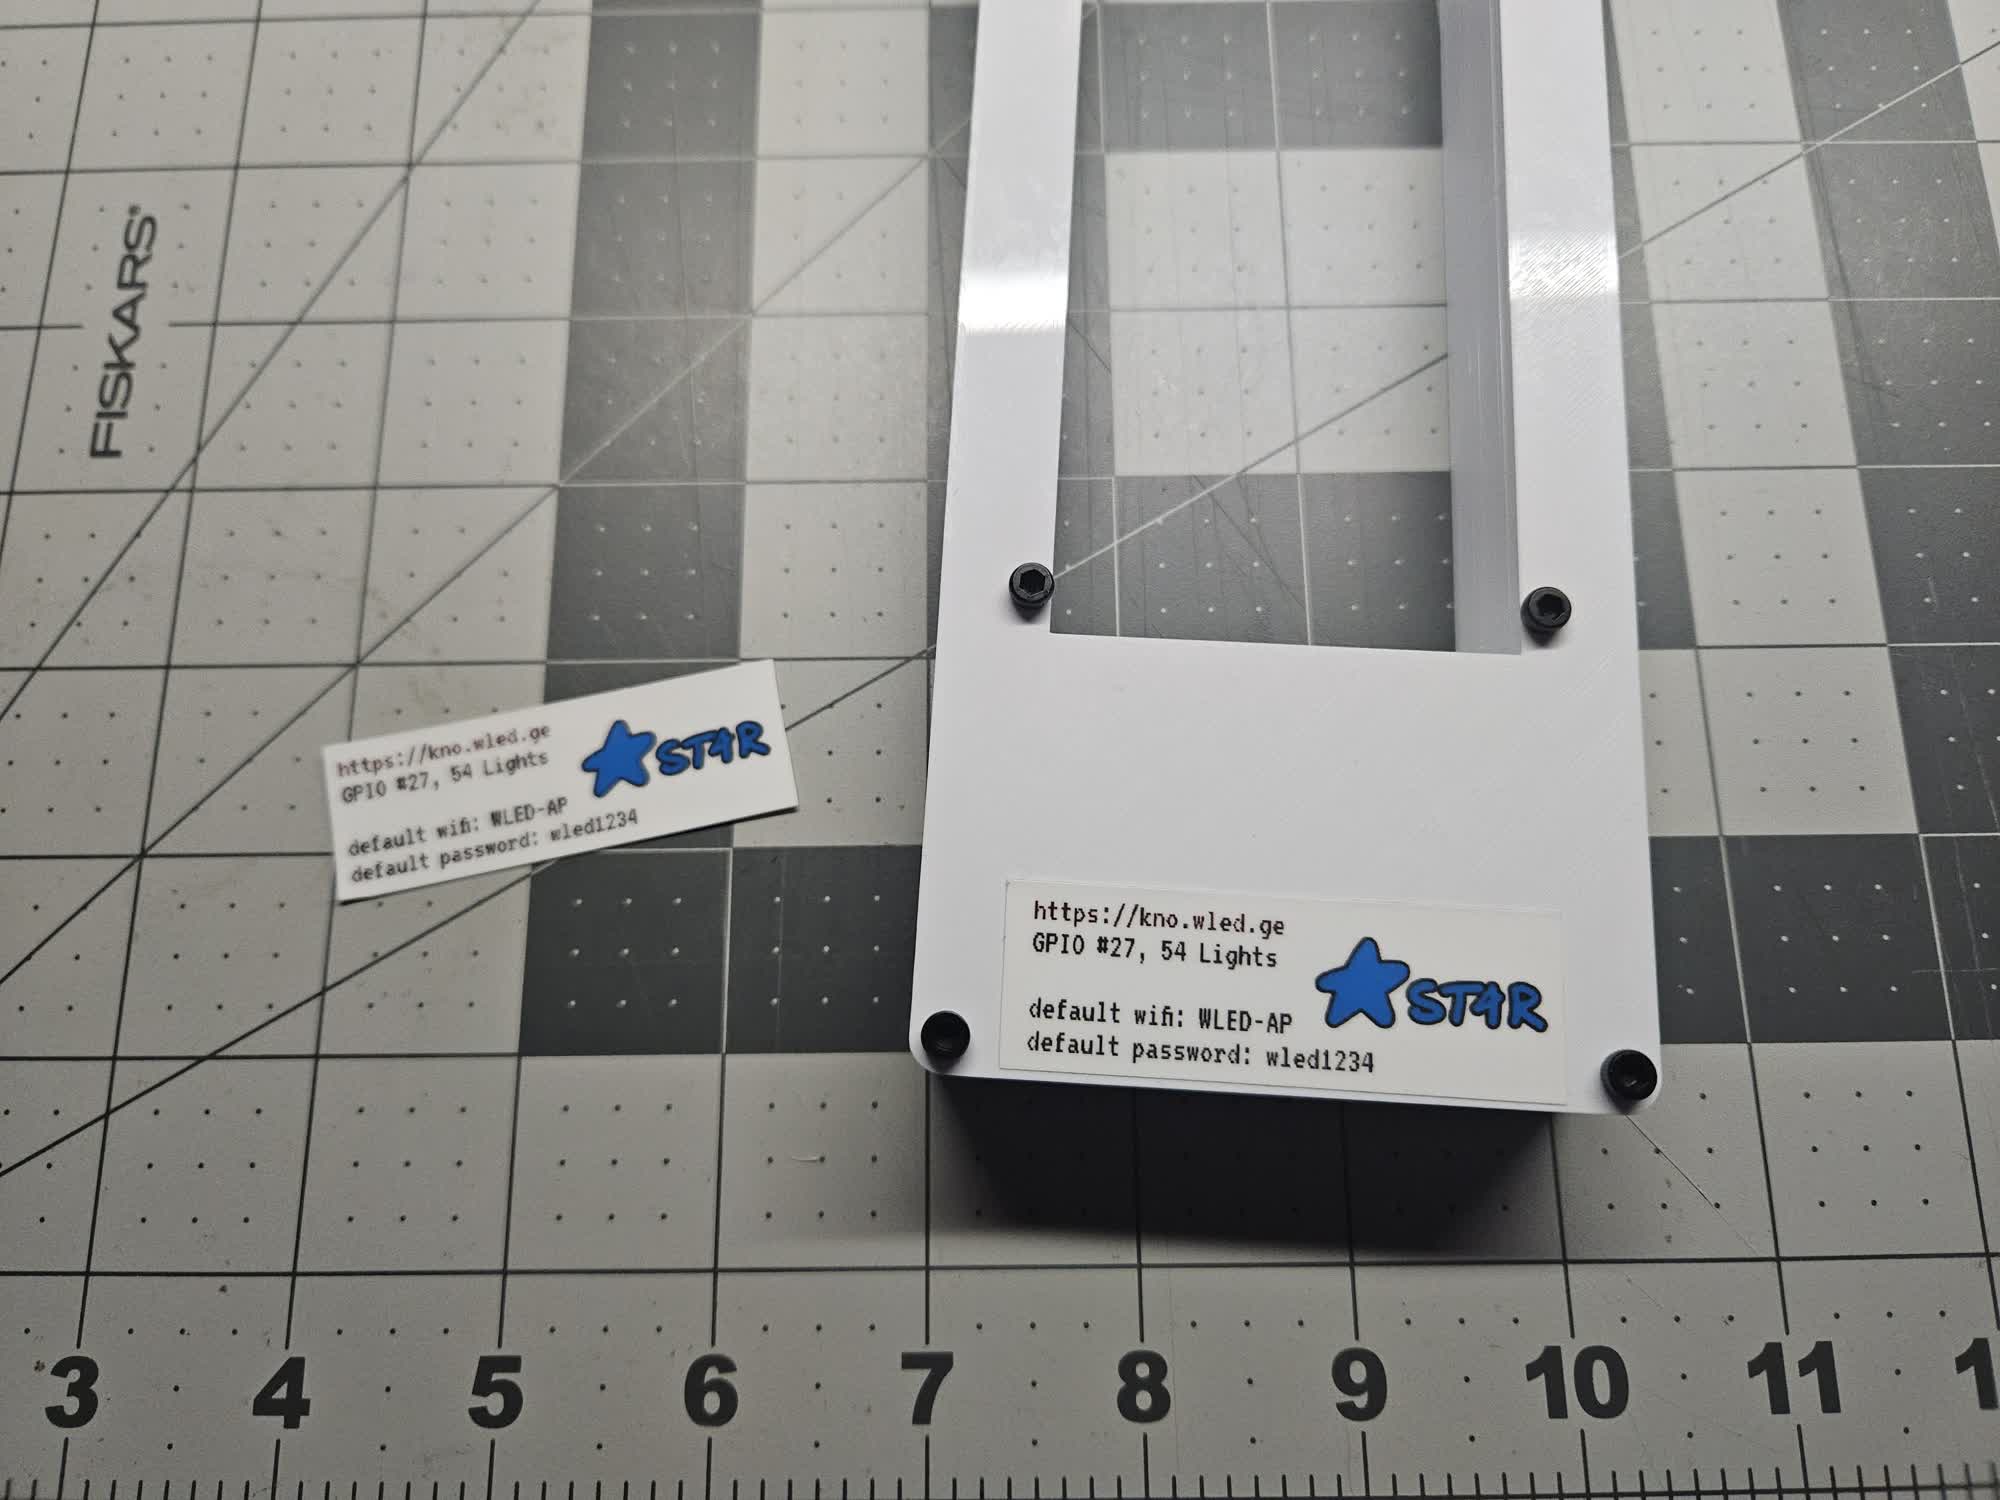
The final touch was a sticker - something that describes what it is, how to use it, and some basic info in case everything gets messed up. I used the recognizable ST4R logo, even as I’m playing with the brand now.
Product
I ended up making one myself as a prototype, where I used cheaper lights. After testing, I made the two for gifts, and they worked great! Link to files on thingiverse. Let me know if you make one! The software is WLED which can be flashed from a chromium-based browser here.